|
I'll always remember the first time my nephew pulled on a carrot stem, and saw a carrot come up from the earth. Amazement! He couldn't believe that he had just pulled a carrot from the ground. Ever since he could toddle around, I have loved showing him all the places where food grows, whether it's berries, edible flowers or something in the garden. He's always loved "helping" in the garden. He spent most of last summer asking me to show him "a plant he's never seen before". Luckily there are lots of options on a hobby farm with a forest, a marsh, and lots of wildflowers. To build on this interest, last summer I gave him a seed catalog to look through. Before I knew it, he was taking it to bed every night and looking at the images. He even took it camping. Once it got tattered, I asked members of the local horticultural society for old seed catalogs, and they came through in a big way. Pretty soon my nephew had new catalogs to look through, and we had lots of spares to do activities with. On a cold snowy day, we cut out pictures from catalogs and made collages. We talked about how much we were looking forward to the garden, and how he would have his own little section in the garden this year. He asked what all the different plants were and which ones we could have in our garden. I gave him scissors and a glue stick, and he did a collage of the plants he wants to have in the garden. For him that mostly meant "plants he's never seen before". Luckily I had ordered seeds for several of these based on past conversations. It was good practice for using scissors and observation skills, too. 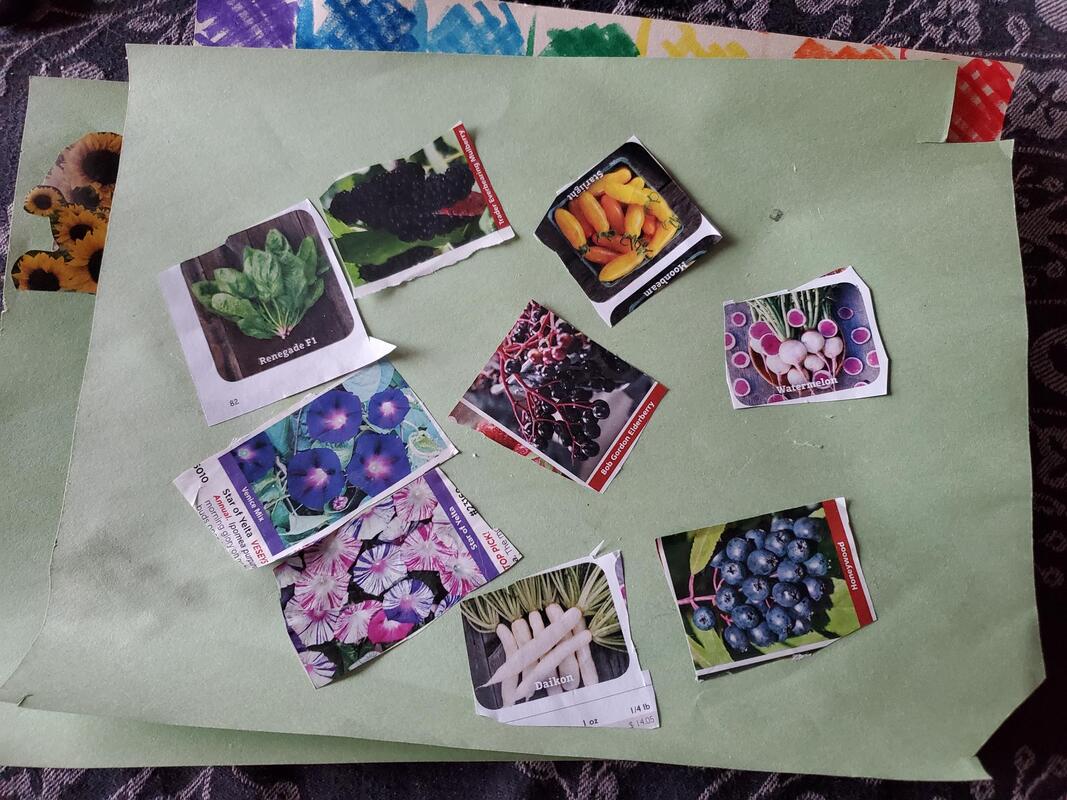 Once he was happy with his “garden” (and a little tired of cutting), we switched gears. I had drawn a rainbow and he looked for plants of all the different colors of the rainbow. I cut out his favorite ones and we pasted them on the rainbow.  Of course, I had to make my own garden collage, too. I'm sure we'll find lots of other ways to use the seed catalogs. 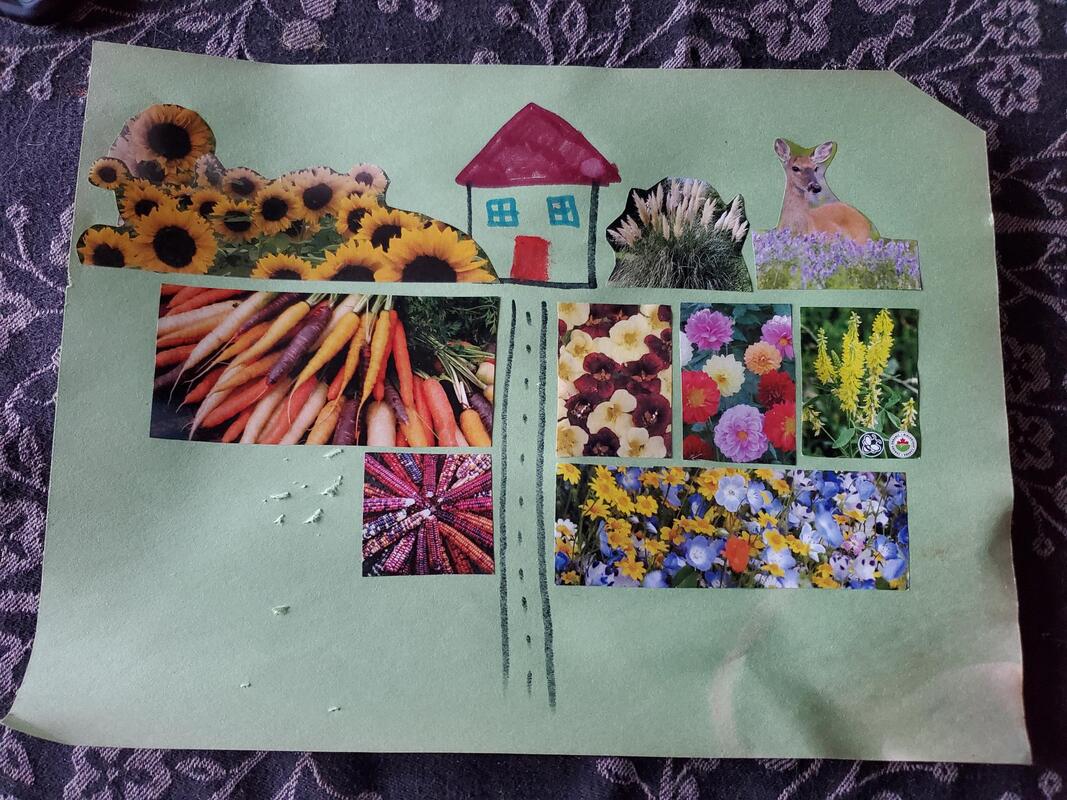
0 Comments
If you grow a larger amount of food and are striving towards self-sufficiency, having a good tracking and planning system is essential. You want to get a strong sense of how much of each product you use each year, and how much you need to plant in order to produce that quantity. Over the years I have improved my tracking and planning processes. In this post, I will share what a year-long cycle looks like. The central piece to my system is the inventory list posted on my fridge. Every preserved product is listed on it. It is organized in sections: side dishes (pickles, salsa and other), main meals (pasta sauces, vegetables), sweets (jam, fruits and other), drinks, and miscellaneous (including honey and maple syrup). Each item has spaces to keep up-to-date numbers of the remaining portions of each "format" of that item written in pencil (quart, pint, half pint, frozen portion, or other unit that makes sense for that type of food). Every time we open a jar or package, we erase and update the remaining numbers (I keep a pencil with a magnet taped to it on the fridge). Each product also has a space on the right where I recorded how many of that item we had going into the preceding fall. If we run out of something, I make a note of the date by which we ran out, so that I can estimate the shortfall. If something goes bad, I make a note of that date as well so that I can plan to use all of that product by that date the next year. The inventory list is my starting point for meal planning throughout the year. By having our starting and current numbers on my list, I have a sense of what we'll run out early and what we have a lot of. I plan my meals based on that. We mark off what we use on the inventory list as we go. 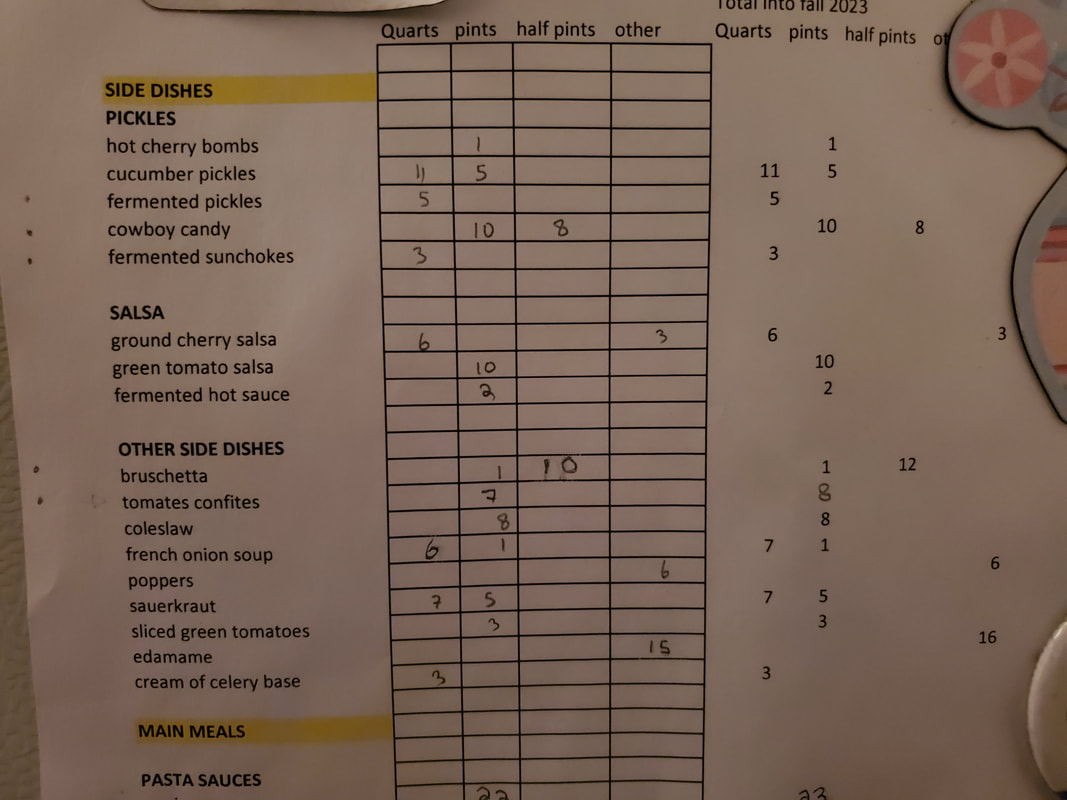 Let me walk you through what a one year cycle of tracking and planning looks like. Early August - annual inventory and estimate of annual usage At this time of year we are eating mostly fresh from the garden so my inventory won't fluctuate too much going into the fall. Just before canning season starts, I do a full inventory of the cellar, shelves and freezer, and I record of what I still have in stock from the previous year. It is a chance to correct for any instances where we forgot to update the inventory as we used products. I make a permanent record of this number in an excel sheet (see below). I compare this with the number I noted a year ago on this date, , and I calculate our yearly consumption: Annual consumption = (how many I had in early August last year) + (last year's production) - (how many are left) I sometimes adjust that number up or down based on whether I felt like we would have enjoyed more if we had more, or had to make an effort to incorporate that much in our meal planning. I then calculate how many of that product I want to preserve. Production goal = (Annual consumption) - (how many are left) + a bit of buffer Lately I have been thinking more about crop failures or how some summers, one crop will do very poorly. For example, last year all my cucumber plants were eaten by groundhogs before I fenced in the garden; this year, abundant rain led to poor tomato production; a few years ago an ill-timed frost killed all our apple blossoms. For this reason, for the most important products, I try to have two years' worth of stock, instead of one year's. 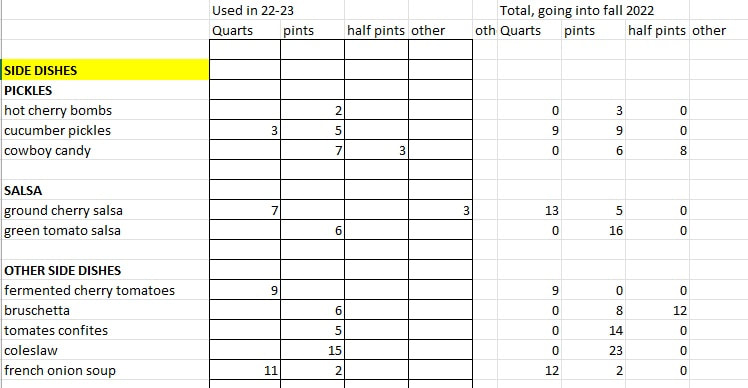 Early August - preserving plan At this point I'm just about to enter preserving season. I have a pretty good idea of how each crop is doing, and I know what my production goals for each product I want to preserve. Realistically, I won't be able to reach all those goals, so it's time to make priorities. At this point, I make a list organized by fruit/vegetable, listed from earliest to mature to latest to mature. For each item, I decide on my priorities and goals. For example, for tomatoes my first priority is to make sure we have a year's supply of canned whole tomatoes; my second priority is marinara sauce; any extra tomatoes after that can become tomato juice, bruschetta, bbq sauce etc. Each item has my production goal next to it. That list gets posted on my fridge and it becomes my to-do list. 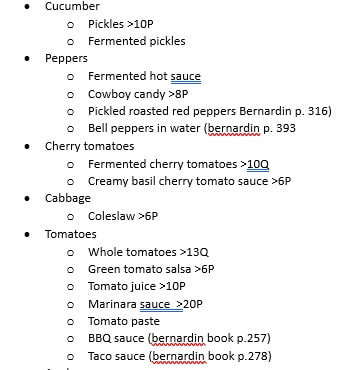 August-November - harvesting, preserving and seed saving During this period I do most of my preserving. Each week I look at what is next based on my preserving plan, and that helps me get organized in advance for my next task (making sure I have the correct spices, enough vinegar, that I have the right size jars etc). I record my completed batches on this sheet in pencil, and cross off items as I meet my production goals. If I exceed all my production goals for an item, I call up the local food bank and they pick up the extra produce. On the tail end of the harvest, I print out a new inventory list for the fridge. It has my new starting numbers (how many of each thing I have in stock, recorded permanently on the right side) and penciled-in current numbers on the left. At the point these are the same number, of course, but the penciled-in numbers will soon get erased an updated. During harvest season, I also engage in seed saving. I'll write a separate blog post about seed saving at some point but I mention it because it will come into play in the next step.  Early December - rough garden plan and seed order In late November/early December I get my seed order organized. I recap the year and decide what I won't try again next year and a few new things I would like to try. I also organize my saved seeds. At this point I make a rough plan in terms of how many of each item I want to plant in my garden next year. For example, if I had planted 20 tomato plants, but reached only half of my production goals for tomato-based products, I should consider having 40 tomato plants next year. After many years of experience, I can adjust that number a bit based on experience and whether I think this year was an outlier in terms of weather and pests, but it gives a great starting point. At this point it's okay to have just a rough plan. I just need to know how many seed packets to order. For each plant, I decide if I should start it from seed or purchase seedlings in the nursery. Usually, if I want just a small number of a certain plant, I will get it at the nursery (for example, most annual herbs, or cherry tomatoes because I prefer getting single plants of a few different varieties). Anything that I grow in quantity, I start from seed. I look at what seeds I have in stock. These could be leftovers from last year, or new seeds I saved from this harvest. I make an excel sheet with all the plants I am planning for, and for each one, I capture whether it will come from leftover seeds, saved seeds, purchased seeds, or be bought as a plant at the nursery. I shop around and place my seed orders based on this information. I also might also order a few plants online that are harder to find locally. 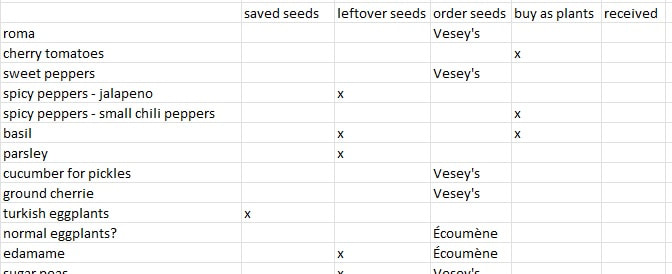 January- seedling planning By January I want to have a firmer plan. I use excel to make an aerial plan of my garden and plan out specifically how many of each plant I will have in the garden, and how much space that adds up to. I take into account crop rotation and the varying conditions in each part of the garden (soil type, wind exposure, irrigation lines, sun exposure...). Once I have that plan, I know how many seedlings I will want for the garden. 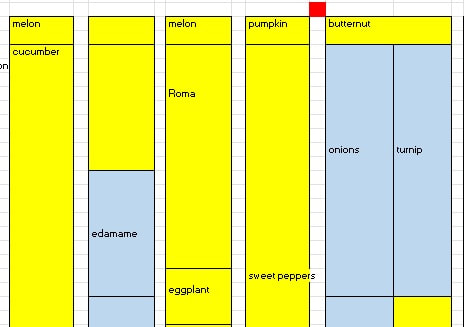 April-May starting seedlings Each year, in my garden notebook, I record how many seedlings of each type I start each year, and how many I transplant successfully in the garden. This way I know what percentage of extra seedlings I should start. This all needs to be balanced against the total amount of seedlings I can nurture given shelf space and lighting. For any tracking that happens in my seedling work area or in the garden, it works best for me to record things in my notebook, as opposed to on the computer.  May-June planting outdoors
In the process of transplanting to the garden, some changes will happen for sure. Some seedlings might have been less or more numerous than my plan, and I might get tempted by something extra at the nursery or pick up some unexpected seeds at a seed swap. I keep records of everything to help me plan next year. If any seedlings failed, at this point I decide whether it is worth getting replacement plants at the nursery. Conclusion This brings us to a full one year cycle. It took me a long time to refine my tracking system and I hope this information and the samples I provided will be useful for some of you. "How many tomato plants should I plant?" is such a common question online, but I've learned that the only person who can truly answer it is you, after careful tracking over the course of a year! In this part of the world, the first gift we get from the land every year is maple syrup. We tap about a dozen trees most years. Mirroring our approach to everything else, we aim to harvest enough maple syrup to last us for the year and give a few gifts. Since that's a fairly small production, we keep things very simple and use as little specialized equipment as possible.  To produce maple syrup our way, you will need:
As a rule of thumb, when it's freezing at night and above freezing in the daytime, the maple sap will flow. Once we see a stretch of time in the forecast that will fit that pattern (usually around mid-March), we tap our trees. We drill holes about waist high, with a slight incline up, and hammer in a spile - it should fit snuggly but not be too hard to take out at the end of the season. 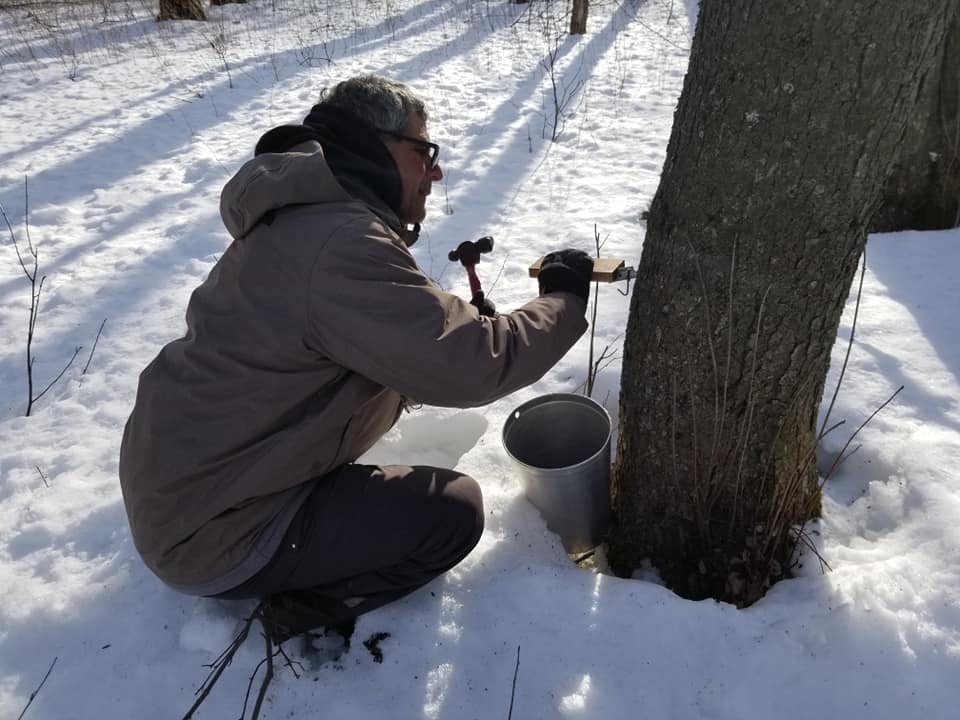 We tap about a dozen trees. On a good flow day, that could fill two big buckets (50L in total) which is about the maximum we can pull up the hill on the sled comfortably. The sap flow isn't always predictable. There is more to it than the rule of thumb I mentioned above... it depends on how sunny it is, how wide the fluctuations are, and it seems to depend not only on the weather in the last 24h but a little bit longer too. The science of the maple sap flow is very interesting. 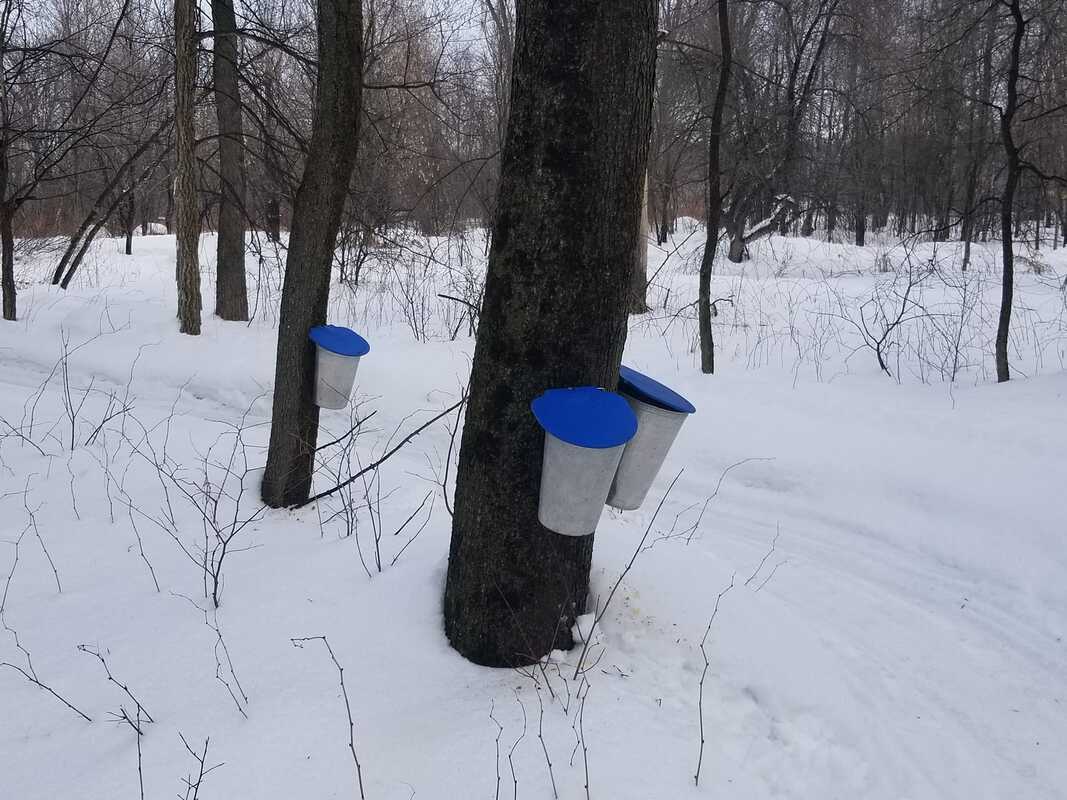 Every couple of days we empty the pails into plastic buckets and carry them up the hill. We filter the sap through a jelly bag and boil the filtered sap in big stockpots. We simply boil the sap on our electric stove. This produces a lot of humidity, which is why a lot of people boil outside, but we don't worry about it too much since it's a once-a-year occurrence. We open the windows, it's nice to get some spring air in the house. Sometimes we ran the dehumidifier. Lots of people say that if you boil sap inside, your walls will be sticky but I haven't seen this to be the case at all. As the level drops, we had more sap. You'll be able to tell by the color that it's getting more concentrated. 40L of sap will make approximately 1L of maple syrup. Stick a thermometer in there once in a while - once you reach 4 degrees over the boiling point (for us that's 104 Celsius but it depends on your altitude), your maple syrup is ready. Keep a close eye on it as you get close to this reading, because maple syrup that is close to being done can very easily boil over (spill over the top of the pot) and that is a huge mess to clean up! We keep combining new sap into the pots over several days, it's easier not to burn it if you have a good amount in the pot. Sap will spoil so we refrigerate it or put it in a snowbank in between boils. Don't forget to sample the sap at various points during the boiling process! We call this "maple tea"! 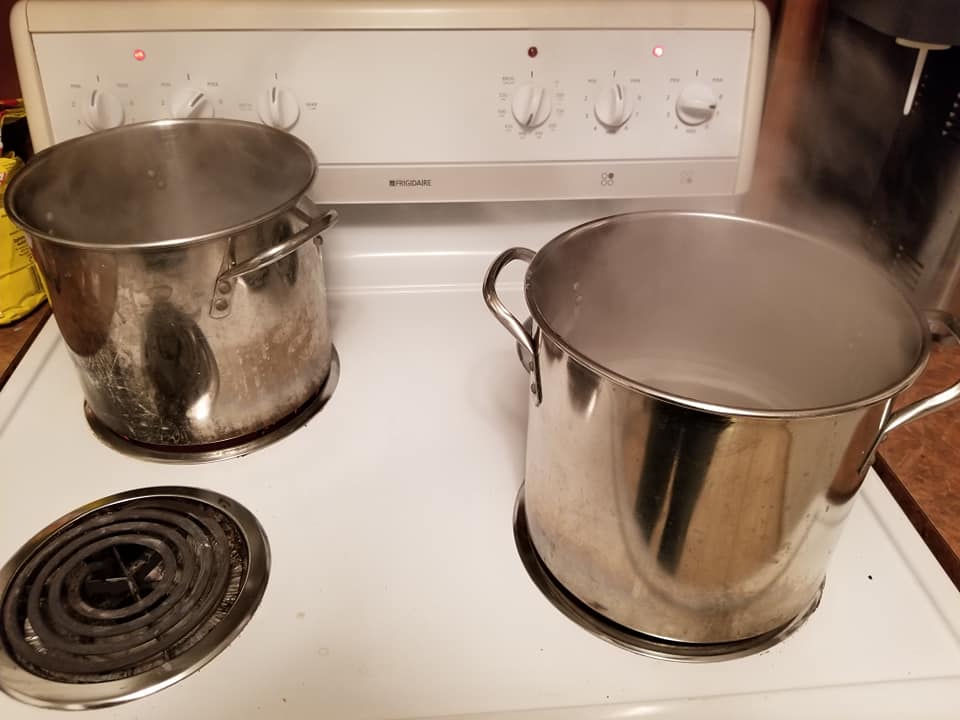 When the maple syrup is ready, I pour it into mason jars or whatever jars are on hand. I haven't found a safe canning procedure anywhere for maple syrup to make it shelf stable, so I store it in the freezer. I have had a bit of mold on it when I tried to store it at room temperature so I don't want to take any chances. I suspect you could use the same canning procedure as for canning simple syrup but I don't think it's been tested. 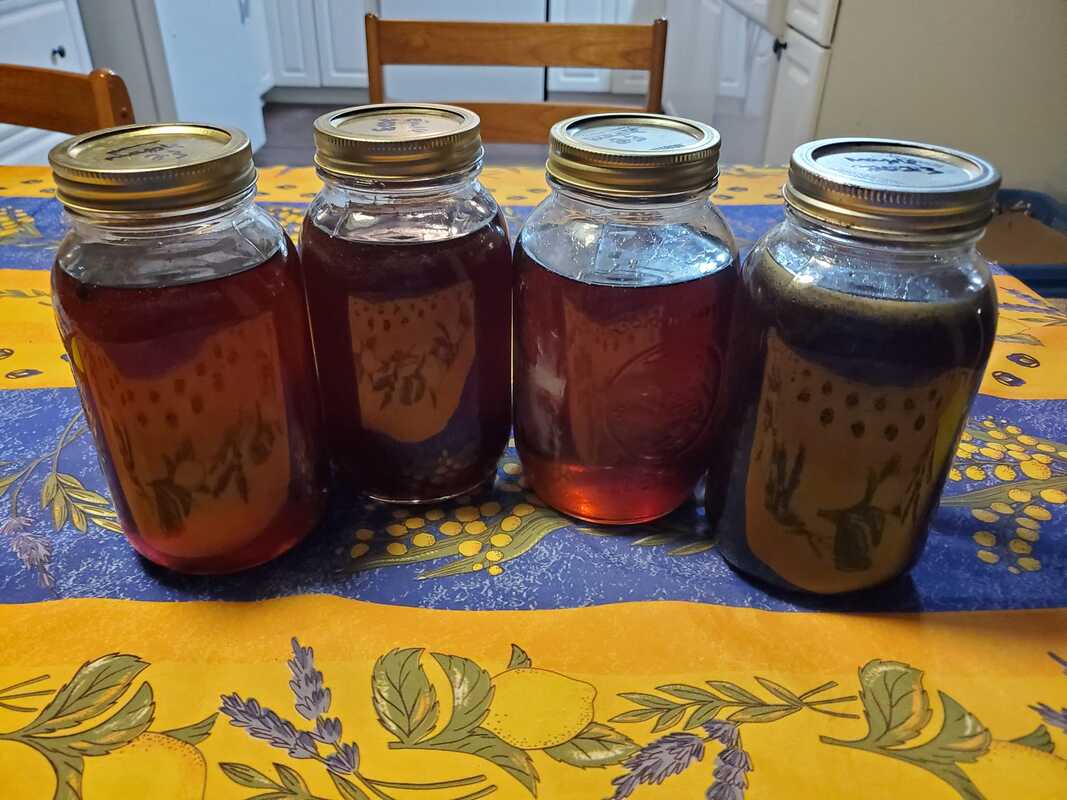 We use maple syrup all year long for pancakes (which is a camping treat), hot beverages, one of my favorite family recipes, turnip maple soup and a new favorite, maple delicata squash 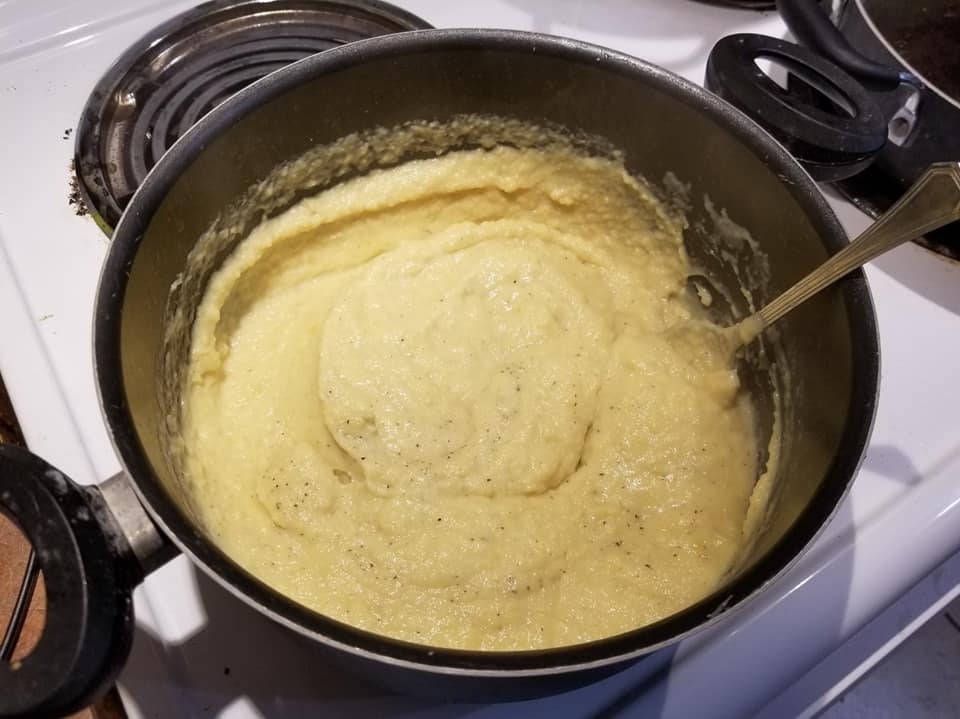 Turnip maple soup |
About this blogThis is where I share my learnings and adventures in homesteading Archives
May 2024
Categories
All
|
 RSS Feed
