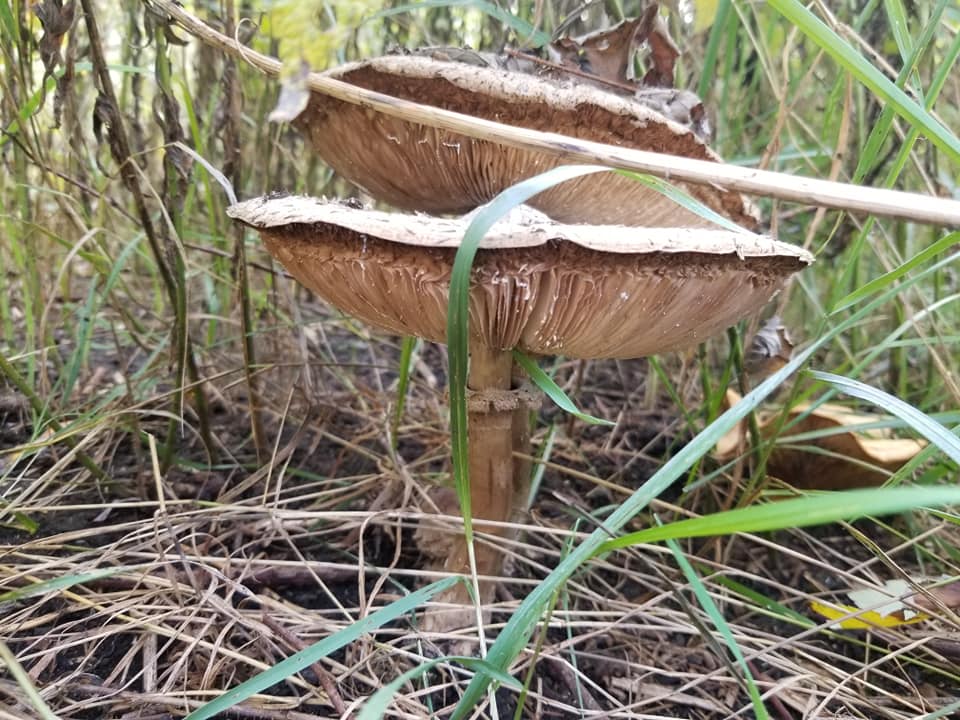
 Today's post is about something that I really want to learn more about - wild mushroom foraging. A few years ago I noticed that we have so many varieties of mushrooms growing on our property. I would love to know more about mushroom identification and in particular, edible mushroom foraging. Ideally, I would love to find local classes or a local mentor, but that hasn't come to fruition yet. This week though, while camping in the wonderful Charlevoix region of Québec, we had the opportunity to do a mushroom foraging activity. The SEPAQ does not usually allow foraging in its parks, however, an exception was made in this educational context. First, in a classroom setting, we learned the basics of mushroom identification and biology. We focused on one mushroom in particular - the lobster mushroom. The lobster mushroom is a mushroom that is colonized by a fungus, giving it an orange color. I learned after the fact that the infected mushroom contains mostly DNA of the parasitic fungus, which I find fascinating. Then, we did a short hike to find lobster mushrooms. It was a wonderful hike in a taiga environment. Once every participant found and harvested a lobster mushroom, we cleaned it with a brush and knife and carried it back. The naturalist then showed us how to cook the lobster mushroom. He sliced very thin slices and pan fried it to a "potato chip" consistency. It was delicious. Back at our campsite we cooked our own lobster mushrooms for supper. I am looking forward to learning more over the coming years about mushrooms, and in particular, about which mushrooms we can forage around our property. The naturalist suggested that a good goal is to learn one new mushroom a year, and to know it well. I know that on our property, we have Coprin Chevelu (shaggy mane) which is pretty distinctive and is edible. I think my goal for this year will be to harvest some Coprin Chevelu from our property, and go from there.
0 Comments
Sumac is one of my favorite plants to forage. It looks like an exotic plant, out of place here in Eastern Ontario. We have it here and there on our property and I often see it on the side of the highway and in parks. I use it to make a refreshing drink (sumac ade) and sumac spice. It's best to pick sumac early; if you wait too long, you might see bugs inside the berry clumps and it is very time consuming to clean them out. To make sumac ade, I simply crush the berries in room temperature water and let them sit in the water overnight. Then, remove the berries and run the liquid through a coffee filter - if you don't, your throat may tickle a bit from the little hairs that fell off the berries. It's a delicious refreshing drink. We don't sweeten it, but some do, To make sumac spice, I dry the berries in a dehydrator or toaster oven (smells delicious!). Then I use a mortar and pestle to separate the outside fuzz from the hard seed inside (some people use a blender instead). I rub the mix onto a fine sieve which separates the seeds and the fuzz. I thought I would give you a quick tour of my gardens so that you can situate the various things I talk about on my blog. First off, let's look at what I call my kitchen garden. My kitchen garden is where I plant the annual plants that give us most of the veggies we eat year round. It's about 30 by 30 feet, and is fenced in with chicken wire due to a groundhog attack a a few years ago. I have let the weeds grow on the outside of the fence to make a sort of hedge because I don't find the fence particularly attractive, and I feel that the hedge will act as a kind of wind break. I also wonder if it hides the garden from pests to a certain extent. They are likely more clever than that, but it seems to be a deterrent at least. This garden was originally mulched with fabric mulch - medium quality for the crop rows and higher quality for the walkways. I am gradually converting this to natural mulch. This garden is hooked up to an automatic irrigation system fed by rain barrels. Each year I plant it from scratch with a mix of seedlings that I've grown, direct seeding wherever possible, and a few nursery plants (for those types where I only want a few plants). 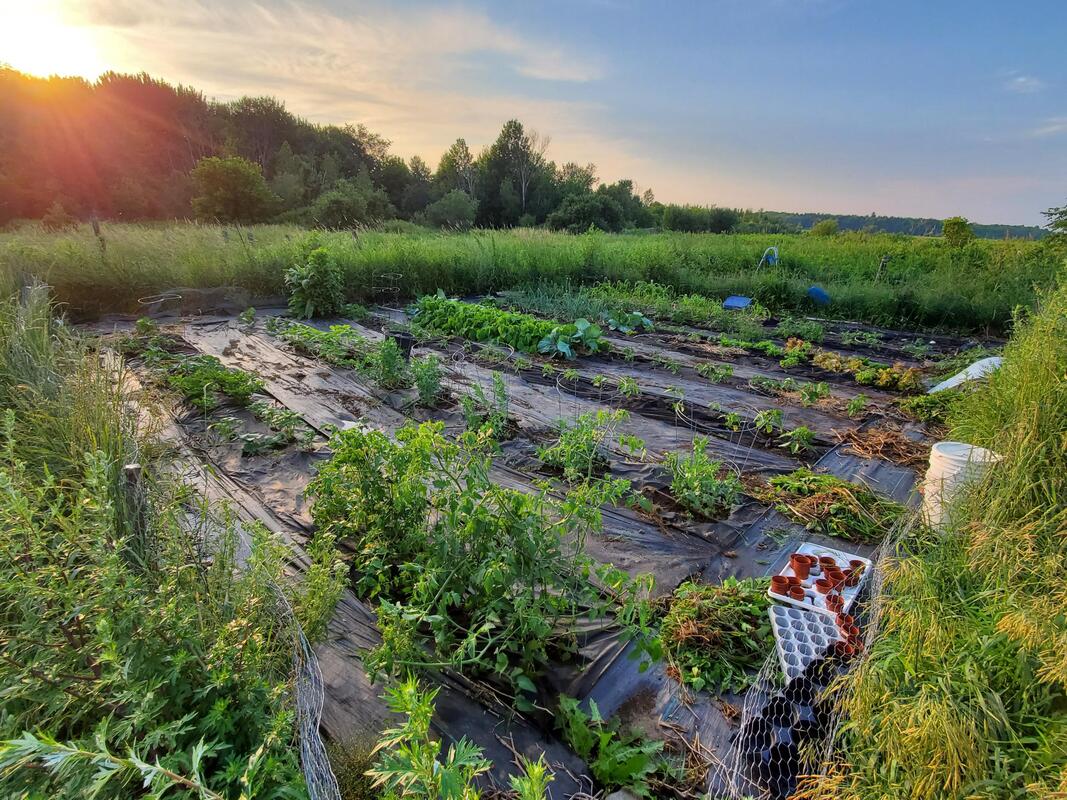 There are a few annuals that don't fit space wise in my kitchen garden or weren't great fits for the fabric mulch I use in it, and don't require watering - those have been relegated to two long beds in our back field. These house ground cherries, potatoes, onions, carrots and scarlet runner beans. Most of these are mulched with hay, except the ground cherries which are on top of fabric because that makes harvesting the ground cherries so much easier. A few years ago I realized that I needed separate beds for perennials. At the time I was using the rototiller in my other gardens, and obviously I didn't want my perennials close to that. There were a lot of issues with "accidental mowing" when I simply integrated them in the landscape, and the detailing around perennials (weed-hacking etc) gets tedious. So, I decided to set up a few perennial beds near the house. I have four beds side by side. Two are strawberry patches. They are conveniently located between the house and my workshop so I can pick up snacks on the way. Rarely do strawberries make it into the house! The third bed has Jerusalem artichoke, rhubarb and horseradish, and a few herbs. The fourth one is a cement planter that was used to store milk jugs before they were brought to the dairy, over fifty years ago. It holds mostly herbs. There are a few irises in there (remnants from when I wasn't sure what I'd use the cement enclosure for and cilantro, which isn't really a perennial but has a neat tendency to reseed itself. Having herbs this close to the house it very convenient for cooking, I wouldn't have it any other way. Lining the side of our laneway are the fruit trees. I have apple trees that produce consistently (empire and yellow transparent), and pear trees that don't produce yet. There are also lilac trees that I use for lilac lemonade and bouquets. After planting and babying these apple trees, I found out we have several wild apple trees in the forest! Oh well. 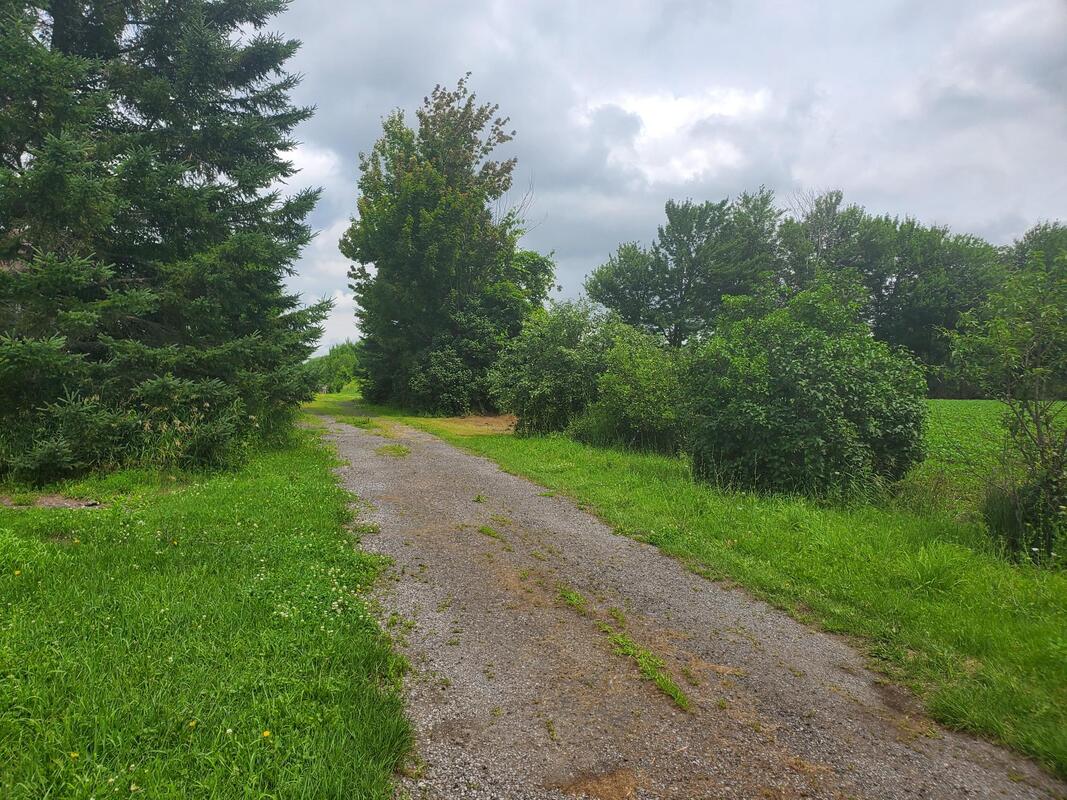 In front of the house there is a little honeyberry patch and some flowers. A bit to the left in an odd space of the lawn, there you'll find a sour cherry bush, and some seabuckthorn that I just put in last year (not producing yet). We have a huge front lawn, which we used to cut short but now just let grow naturally- I was shocked when I calculated how much unnecessary emissions I was causing by maintaining it as a lawn... Now, we let it be a meadow and our neighbor cuts it as hay once or twice a year. 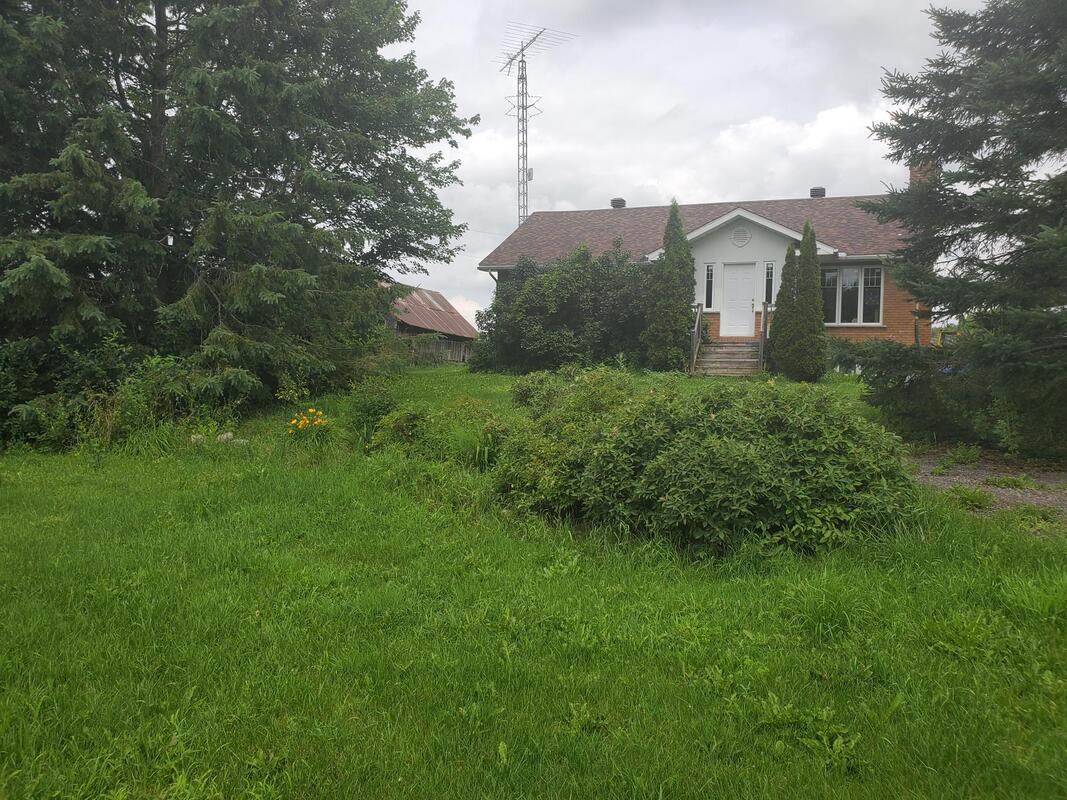 Around the house there are a few flower beds with perennials, many of them were there when we moved in and I've mostly just maintained them although I have added a few lilies and other low maintenance flowers to them. They are not my priority when compared to the more useful crops. We do eat the daylilies and I hear that hostas are edible too but I haven't tried them yet. 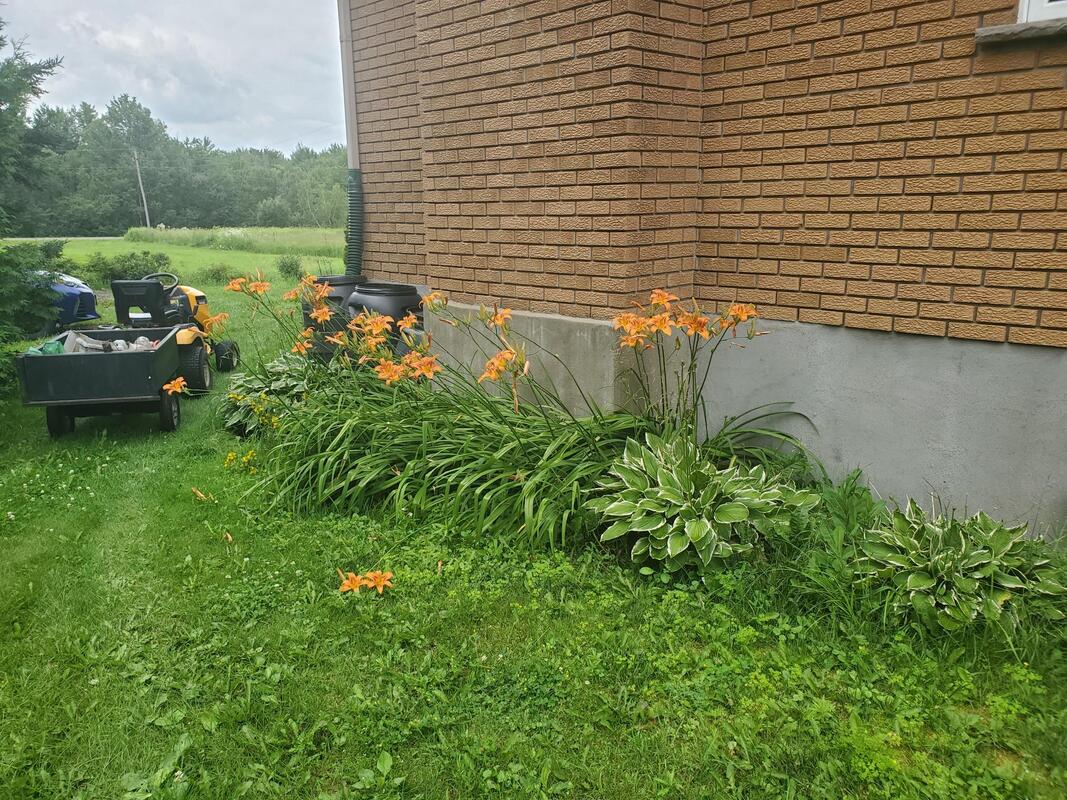 There are also quite a few plants integrated around the property here and there, as an "edible landscape". For example here you can see two grape vines around posts in front of the tiny house we build in our field. Elsewhere you'll find ostrich ferns for example. 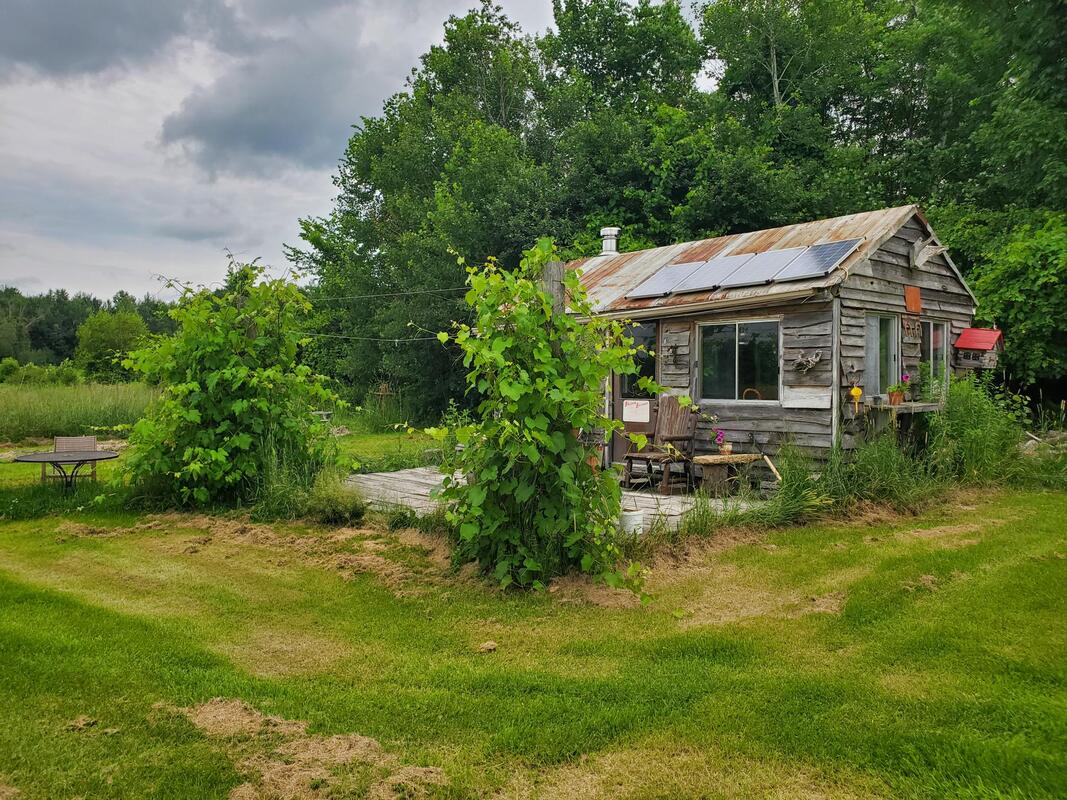 Finally there is a lot of good foraging on our property but I'll cover that in a future post! There you will get to meet things like raspberry bushes, wild grapes, stinging nettle, plantain, and sumac.
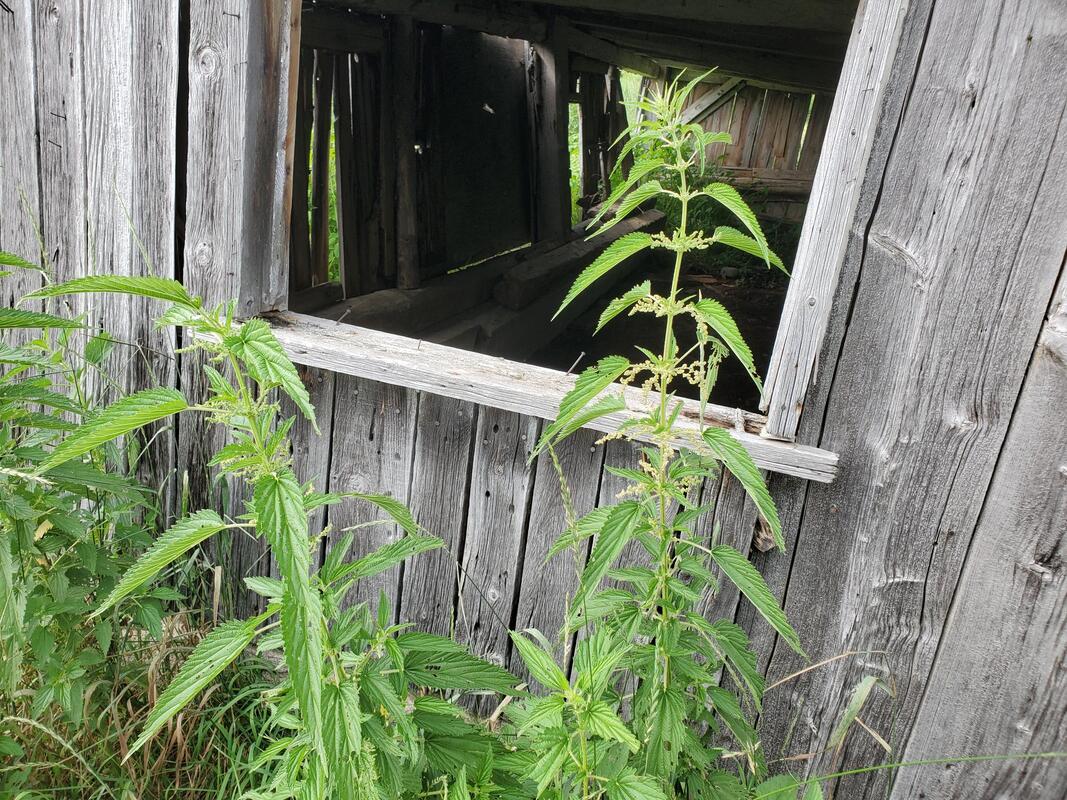 Mature stinging nettle plants (known as Hortie in French) and historically known as "the bad plant" around our place! Before moving here, I had had limited encounters with stinging nettle (une hortie), which grows in fertile and moist soil. Ray and I both unsuspectedly grabbed handfuls while weed pulling and learned our lesson quickly. If you brush against it the wrong way, it stings you with its hollow stingers. The stinging sensation can last for hours and even cause blisters. We didn't know what it was, exactly, so we simply called it 'the bad plant", a name that has stuck. Over time I learned some tips to coexist with stinging nettle, and recently I have come to appreciate this plant for cooking. Tips for handling stinging nettleA few years ago I noticed that if you pick stinging nettle with an upward motion, it doesn't sting you. I still prefer to use gloves, just in case, but once in a while I'll pull one out by the base of the stem. Its hairs are angled upwards so when you pick it up with an upward motion, you crush the hairs towards the stem, instead of embedding them into your skin. The second tip I learned during a foraging workshop is that plantain is a good antidote to stinging nettle. As soon as you feel the burn of stinging nettle, chew a few plantain leaves and then spit them out and apply them to the burn. It will neutralize the burn quickly, and prevent it from itching for hours afterwards and from causing a blister. We have lots of plantain around, so I have used the trick a few times including on my little nephew who hasn't yet learned the lessons of "the bad plant".  Plantain is recognizable by its broad leaves. At our place it grows on the driveway and in the lawn. Cooking with stinging nettlePeople use stinging nettle in various recipes including pesto, soup, and cheesemaking. I haven't used it in all these ways but I love this stinging nettle soup recipe that I just made for the first time. I think it'll be something we make often in the spring, when there isn't much in the garden yet but the stinging nettles have popped up, and before it gets too hot. It was a perfect treat on a rainy day.
 The first year I gardened, I quickly became overwhelmed by weeds. After a week away, it was hard to get back on top of things. I had read about the importance of mulching, but all that came to mind at the time was expensive bags of mulch at the nursery. I knew the cost would add up quickly based on the size of my garden and needing to add mulch over and over again. However, it was clear that I needed a solution. Starting the next year, and for many years since then, I have been using landscape fabric to control weeds. I lay it down along the rows, over my drip irrigation lines. I secure it with a generous amount of ground staples, rocks, and logs. Advantages of this method include:
I think this is a very decent approach to weed control and I definitely would never go back to not having any kind of mulch. However, I did find that this approach had some downsides:
Over the last couple of years, I have been experimenting with switching over my landscape fabric to natural mulch. I haven't given in to buying commercial mulch - I use whatever I can get my hands on for free. For example:
When mulching with natural materials, I make a pretty thick layer - about 4-6 inches. I keep an eye on it as it decomposes and replenish the low spots every time I mow the lawn or whenever it's needed. Weeds do pop up here and there but they are typically easy to pull. The mulch continuously decomposes, so it keeps enriching the soil. In the fall we put an extra generous layer of mulch that stays there through the winter. It keeps weeds down in the spring and I just pull off the extra when I plant, ready to be used as replenishment as needed. I still have fabric mulch in my main kitchen garden, but I don't use it in any new gardens and I am replacing it with natural mulch as it degrades. This is all part of the "no till / no dig" approach to gardening that I have been transitioning to. This biodegradable mulch composts in place and is making my soil better and better. The book that started me down this path is "Le jardin vivrier" by Marie Thévard. I also recently picked up "No-dig gardening" by Bella Linde and Lena Granefelt and "Building soil" by Elizabeth Murphy to learn more about the topic. One final tip. Years ago Ray decided to use some leftover construction paper as mulch. Not a good idea. It's waterproof so it doesn't let rain in, so you need to water a lot. And, now, 5 years into it, It's starting to fray in places and little bits of it are flaking off, I am afraid it may mix into the ground so we'll have to remove it. So be careful about using things such as this or tarps. Make sure whatever you use is biodegradable. When I first started to grow herbs, I was disappointed to see the short harvest window of the cilantro plant, and the small quantity of leaves that a single plant gives. A cilantro plant doesn't have a huge amount of leaves, and it quickly turns to seed. I found the solution to this issue by coincidence. One year, Ray had an extra cilantro seedling, and I stuck it in a large planter to avoid wasting it. It did its thing and went to seed. The next spring, while weeding the planter, I noticed a familiar scent and I realized that I had accidentally weeded out a bunch of cilantro "volunteer" plants. (Volunteers are seedlings that pop up on their own, most likely because of a seed from a plant the previous year.) Fortunately, more volunteers popped up and before I knew it, I had a whole bed of cilantro leaves... enough to harvest for cooking. The next year I was more intentional about taking advantage of this reseeding. In the fall, I harvested a large quantity of seeds from dried out cilantro plants in that bed. I stored them in a plastic container. In the spring, I let the volunteers pop up from the seeds I unavoidably missed. Then, every few weeks I sprinkled a few seeds from my reserve onto that area of the bed. I then had cilantro in the "leafy" stage in continuous supply throughout the summer which is great for tacos, wraps, and Thai-style stir fries. Incidentally, did you know that cilantro seeds are coriander? I am not shy about dipping into my saved seeds throughout the winter whenever I need a bit of coriander. I just grind it up with a mortar and pestle. Here is one of my favorite fall recipes that features cilantro and delicata squash. |
About this blogThis is where I share my learnings and adventures in homesteading Archives
May 2024
Categories
All
|


 RSS Feed
