|
I have previously been hesitant to venture into Hydroponics. The pumps, algae etc seemed to be a source of many problems and expenses. However, going into winter, and with the rising cost of food, I started to miss having salad at every meal, and lettuce isn't exactly something that is easy to preserve. Looking into proprietary systems like Aerogarden was discouraging though. They seemed expensive and design to tie you down to a proprietary system, with special pods, non standard light bulbs, etc, and I didn't always hear good things about people who had used them. I almost abandoned my hydroponic dreams, until I stumbled onto the Kratky method, and now I'm a convert. The Kratky method is easy to do with household materials - no need for pumps, aerators, etc. It is a "set and forget" approach with the simplest possible materials. How is it different than typical hydroponics? The dilemma of hydroponics is that roots need to take in oxygen, water and nutrients. If you simply submerge roots in water, they won't be able to get oxygen properly (that's also why plants do poorly in soil that is saturated in water). Most hydroponic systems address this by using a pump that pumps air bubbles into the water. The pump is the most expensive part of the system as well as the most prone to failure. Instead of using that approach, the Kratky method ensures that part of the roots is submerged in water, and part is exposed to the air. When you install you seedling in its container, the roots should only be partially under water. At time goes by, two things happen simultaneously: the level of the water drops as it gets absorbed by the roots, and the roots grow longer and longer. The end result is that as the roots grow, a balance is kept between how much of the roots is submerged in water and how much is exposed to the air.  This approach cuts out a lot of the complexity and expense. The other appealing element of the Kratky method is that you never add any nutrients or other additives to the water as the plant grows - you just mix up the initial solution and leave it. You can use pretty much anything you have on hand to make your Kratky system. In my case, I used mason jars and soft drink bottles as the main containers and covered them with old mismatched socks to block out the light and prevent algae growth (some people use aluminum foil for this purpose). I used my 2D printer to print the little cups that hold the seedling - but you could use small yogurt containers with holes in them, for example. The initial solution needs to have nutrients added to it (I use Maxigrow), and be PH balanced (so you will need a PH test liquid and Ph+ or Ph-). Instructions on the Maxigrow inform you about quantities to use. I started seedling in soil and transplanted some to Kratky cups, and some to bigger soil pots. The seedlings in the Kratky method grew so much faster and became much bigger. It simply doesn't compare. Out of curiosity, Ray tried a few with normal fertilizer instead of Maxigrow and they did pretty well too. If you grow things that will flower or bear fruit, you may need different types of nutrients. But for greens, Maxigrow is sufficient and simple enough.  Starting the seedlings in soil 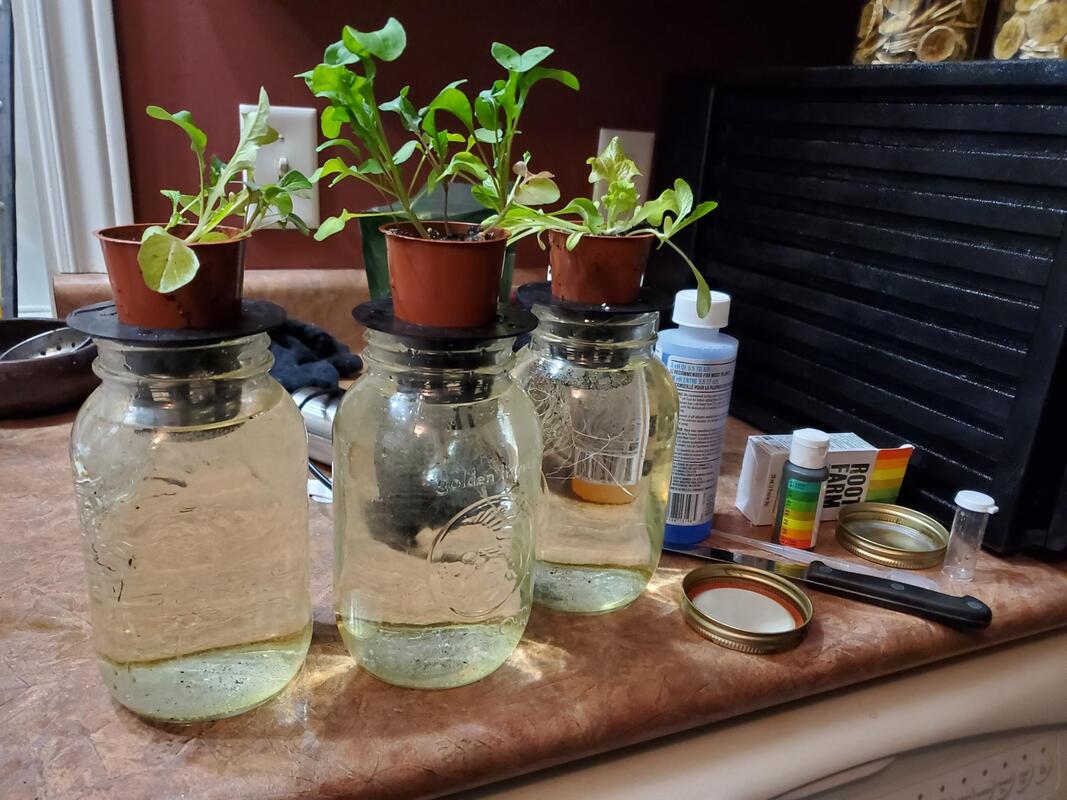 My Kratky setup - mason jars, 3d printed net cups, Root Farm Ph testing kit and Ph- liquid. I also use Maxigro nutrients (not shown) and I cover the jars with old socks (not shown). I leave the seedlings in their seedling cups for simplicity, I just make sure their roots are partially submerged. 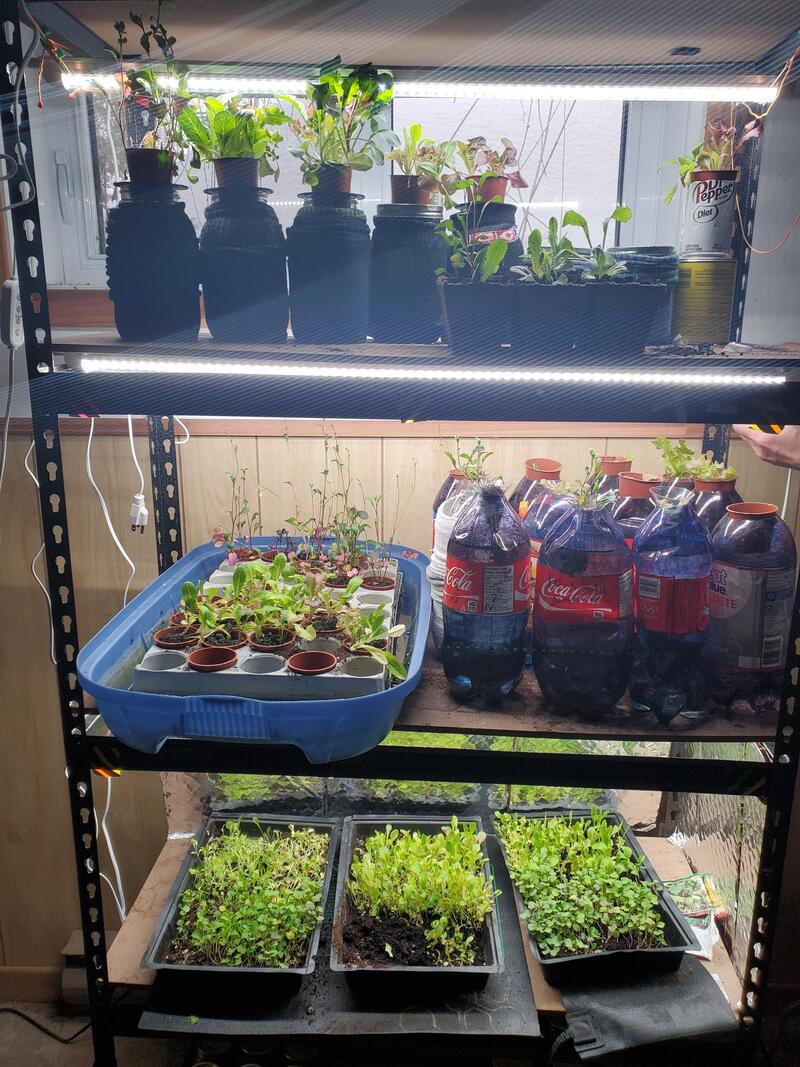 We tried different variations and compared soil vs hydroponics, it got a little bit out of hand. I loved that I could use my seedling starting shelves and lights. You can see we also grow microgreens on the bottom shelf. 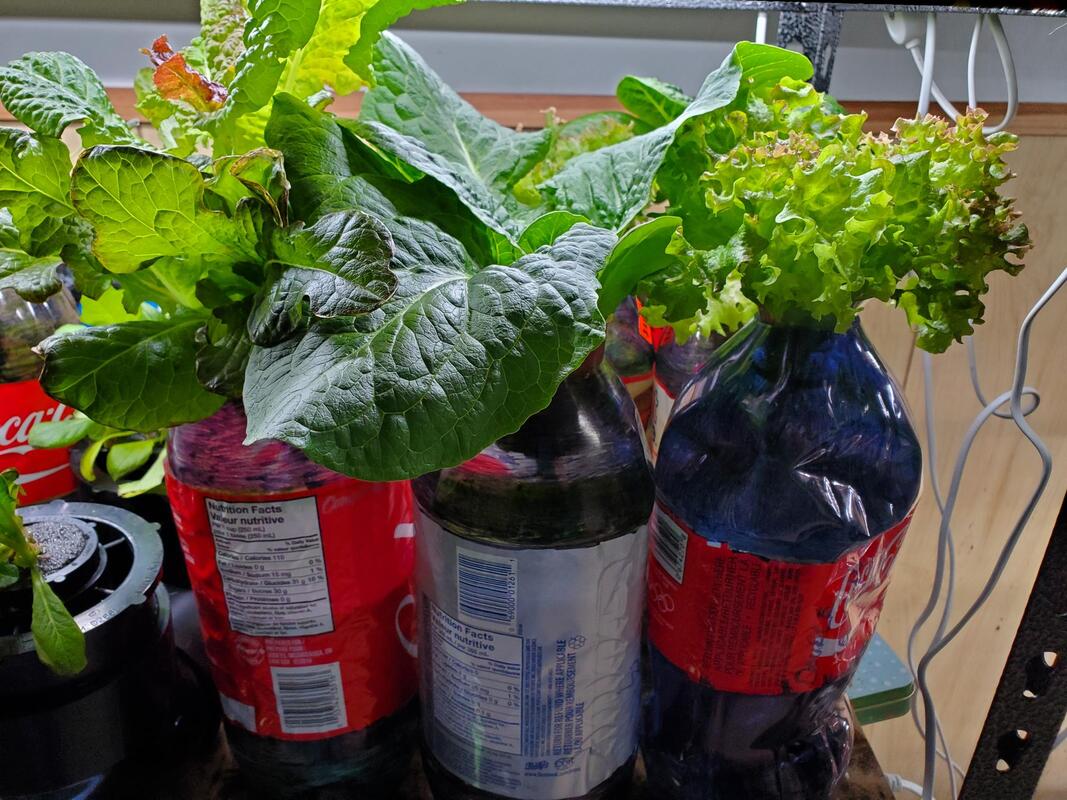 Beautiful hydroponic greens 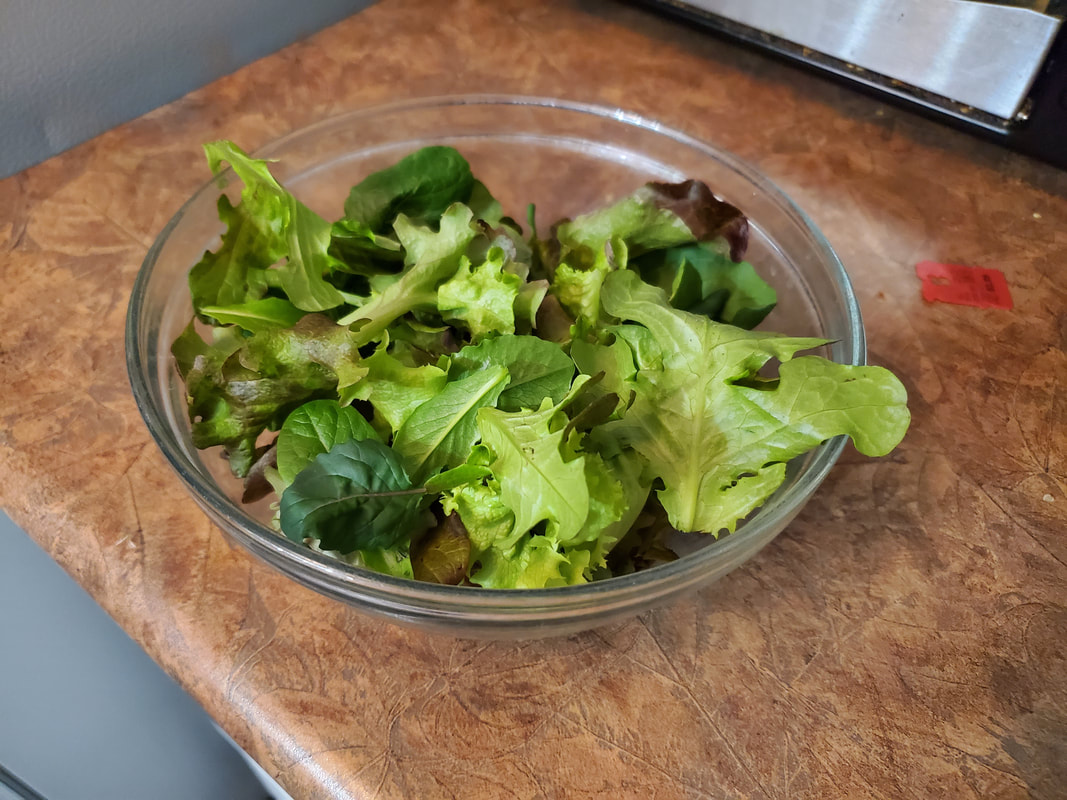 It was wonderful to have fresh salad in the wintertime.
0 Comments
|
About this blogThis is where I share my learnings and adventures in homesteading Archives
May 2024
Categories
All
|
 RSS Feed
