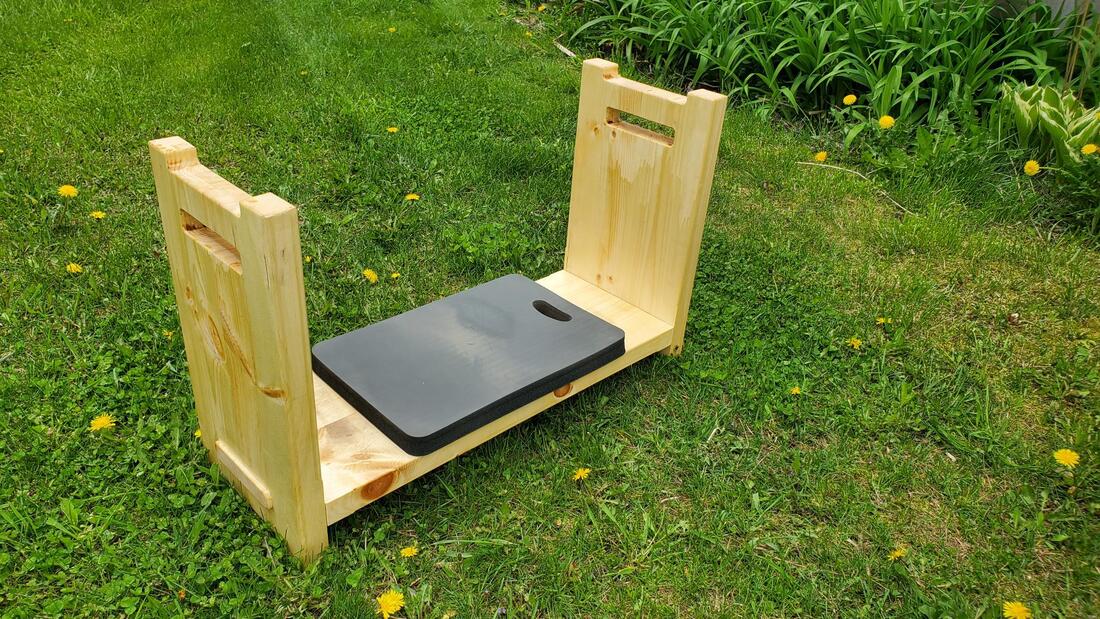
 Woodworking skills and tools come in handy in the day to day. My latest project was making a gardening bench, which is mostly used while kneeling but also for sitting. It makes it more comfortable to kneel, saves my pants from the worse of the dirt and scuffs, and makes the repetitive up and down motions easier when it comes to long days of working along rows. The design I decided on has a few bonus features as well - it makes it easier to move all my tools as I go down a row, and if I flip it upside down it's a nice stool from which I can complete the "admiration phase" of my work or take a little break. My design was inspired by commercial products such as this one. Materials needed:
To create my design, I experimented a bit with stacks of books to see what was a comfortable height for kneeling, how high I wanted the handles to be (to assist with getting up repeatedly), and how wide I wanted the kneeler (I wanted a bit of extra space on each side to put down a tool if needed). I also experimented a bit to see what dimensions would work to fold my gardening bag over the top edge. I decided to use mortice and tenon joinery for strength. I could get 2 by 12 boards so I started by jointing and laminating pairs of 2 x 6 boards cut to size. I planed and jointed them. Then I used my router to carve out a mortice and handle in each vertical piece. I made the handle and mortice symmetrical, which made for an appealing design and simple router set up. 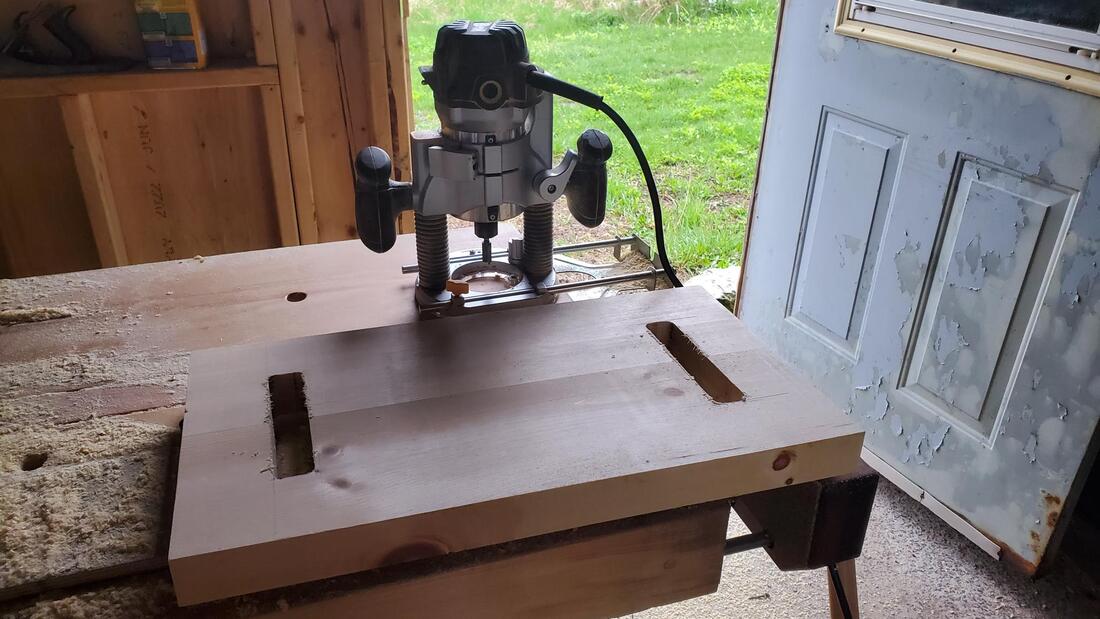 Next, I used my router table to carve out a notch at either end of the vertical board. This creates short little legs that make the bench more stable on uneven ground. As a bonus, once I started using the bench, I realized that they are great for hanging my hat or any tool with a loop. 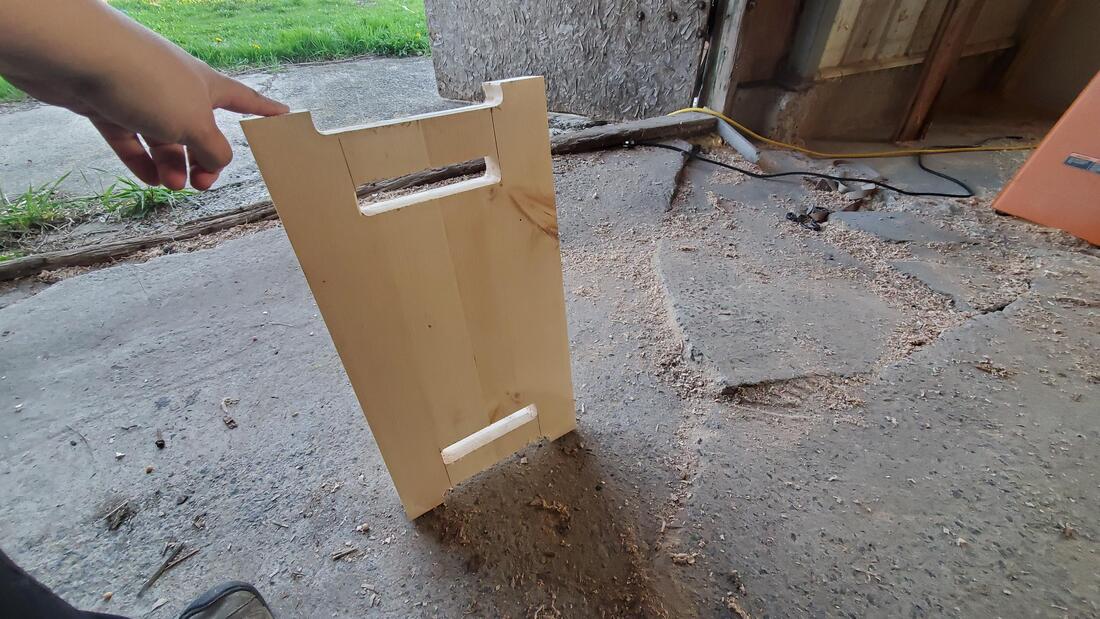 I While I was at the router table, I started to work on the tenons, at either end of the horizontal piece. I routed out material on both faces of the board, adjusting until it was the correct thickness to slip just right into the mortice. I used a handsaw on the two edges to complete the tenon, and chisels to round off the tenon and adjust the fit. I made the tenon a bit longer than needed, so it would stick out a bit, just as an aesthetic choice. 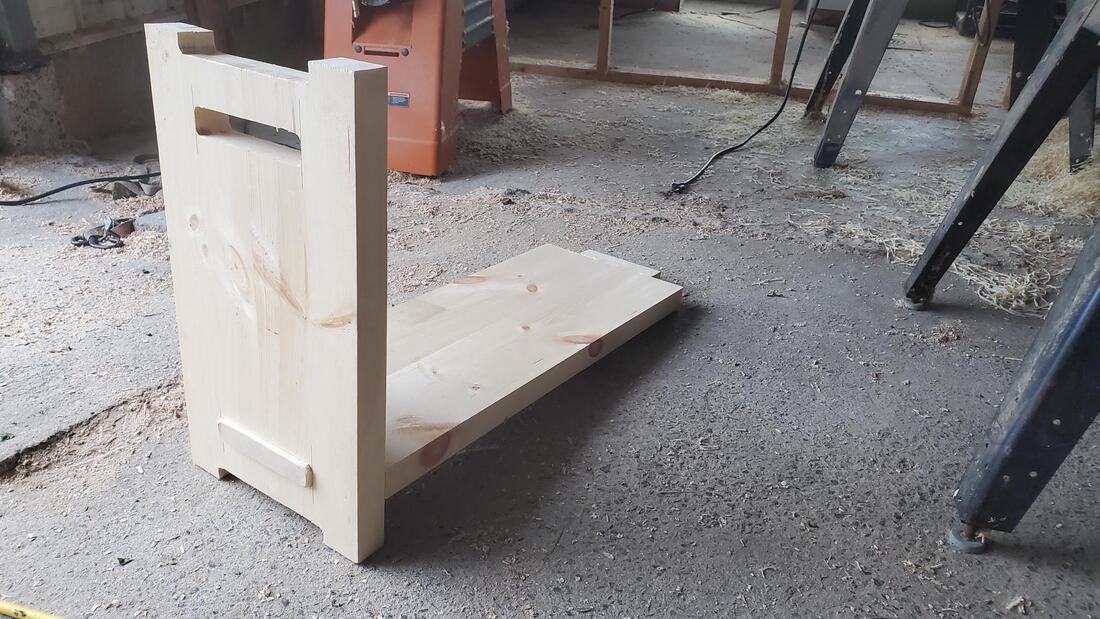 Then, I used a palm router and rasp to round the edges. I glued the mortice and tenon, and applied polyurethane finish. In the picture below, the bench is drying upside down, on some painters' pyramids that I 3D printed a while back. All that was left was gluing the foam on with contact cement. 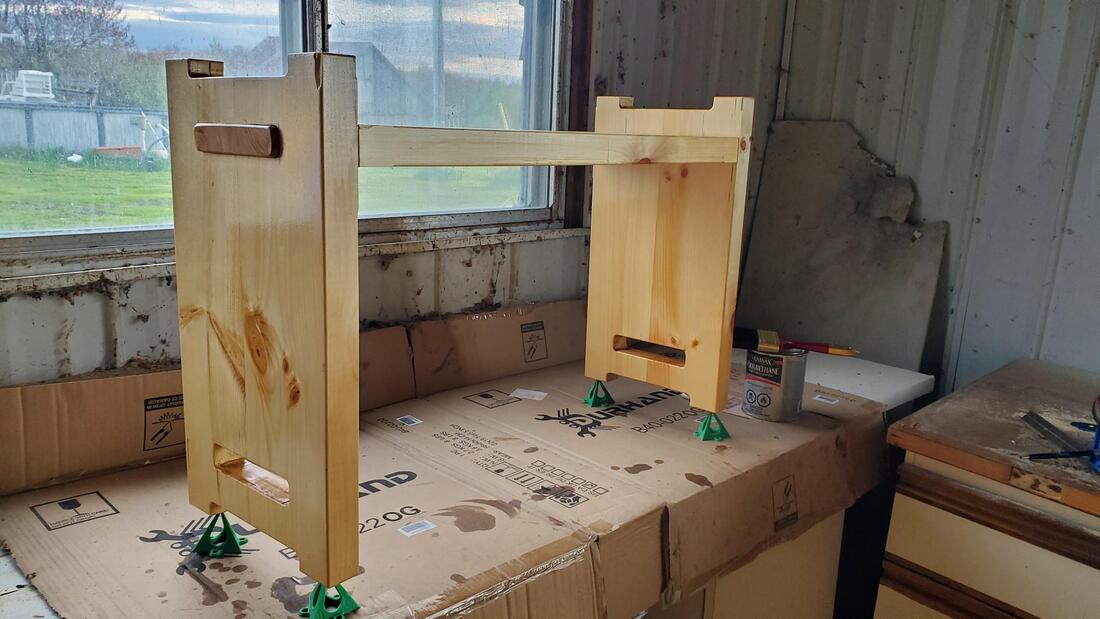 I had a chance to try out my kneeling bench yesterday while planting onions, and I love it. It is comfortable, less tiring, less muddy, and makes it easy to move all my tools along a row as I progress. The upside-down side definitely came in handy too. I love hooking my gardening bag on one end, and my hat on the other when I take it off to cool down a bit. Overall I am very happy with my design! It took about two half days to make, plus drying time. It was a lovely project to spend some time in one of my happy places, my workshop, listening to the rain falling on the tin roof.
0 Comments
Leave a Reply. |
About this blogThis is where I share my learnings and adventures in homesteading Archives
May 2024
Categories
All
|


 RSS Feed
